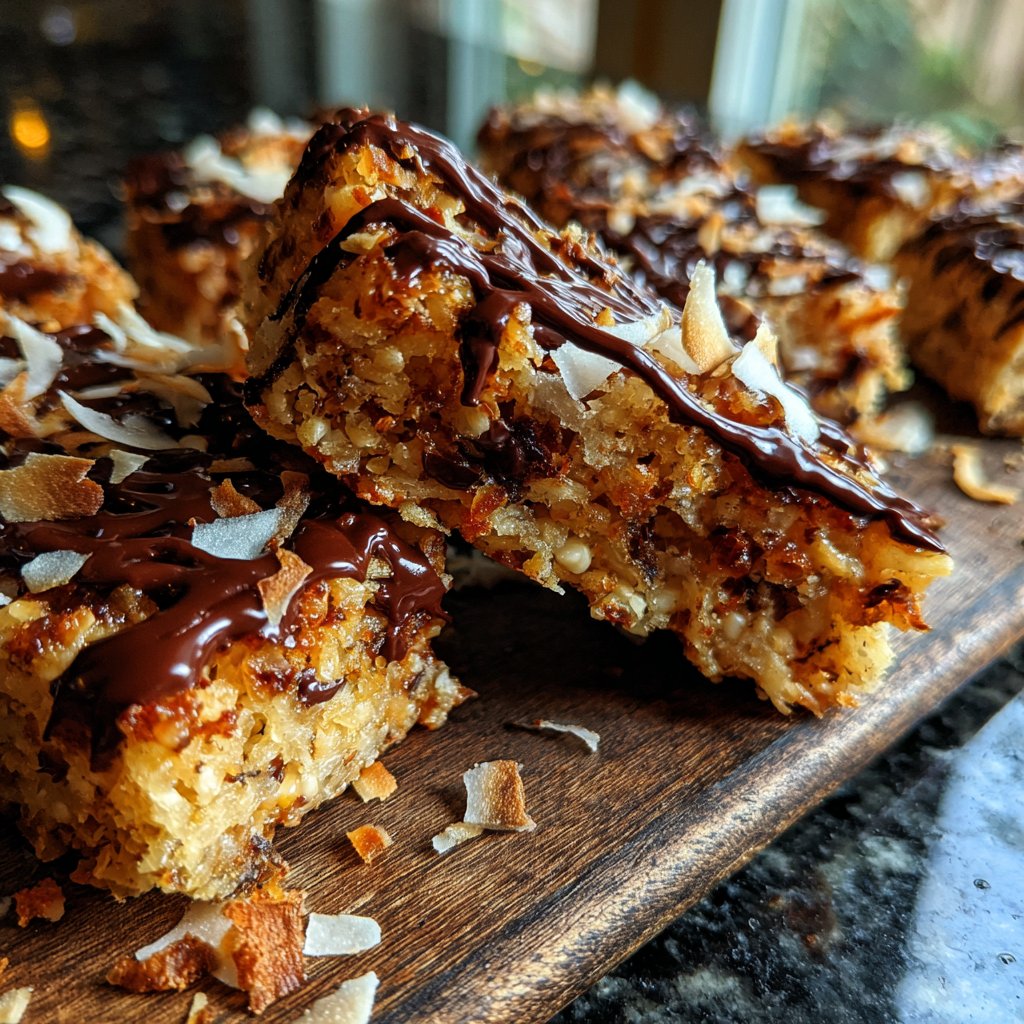
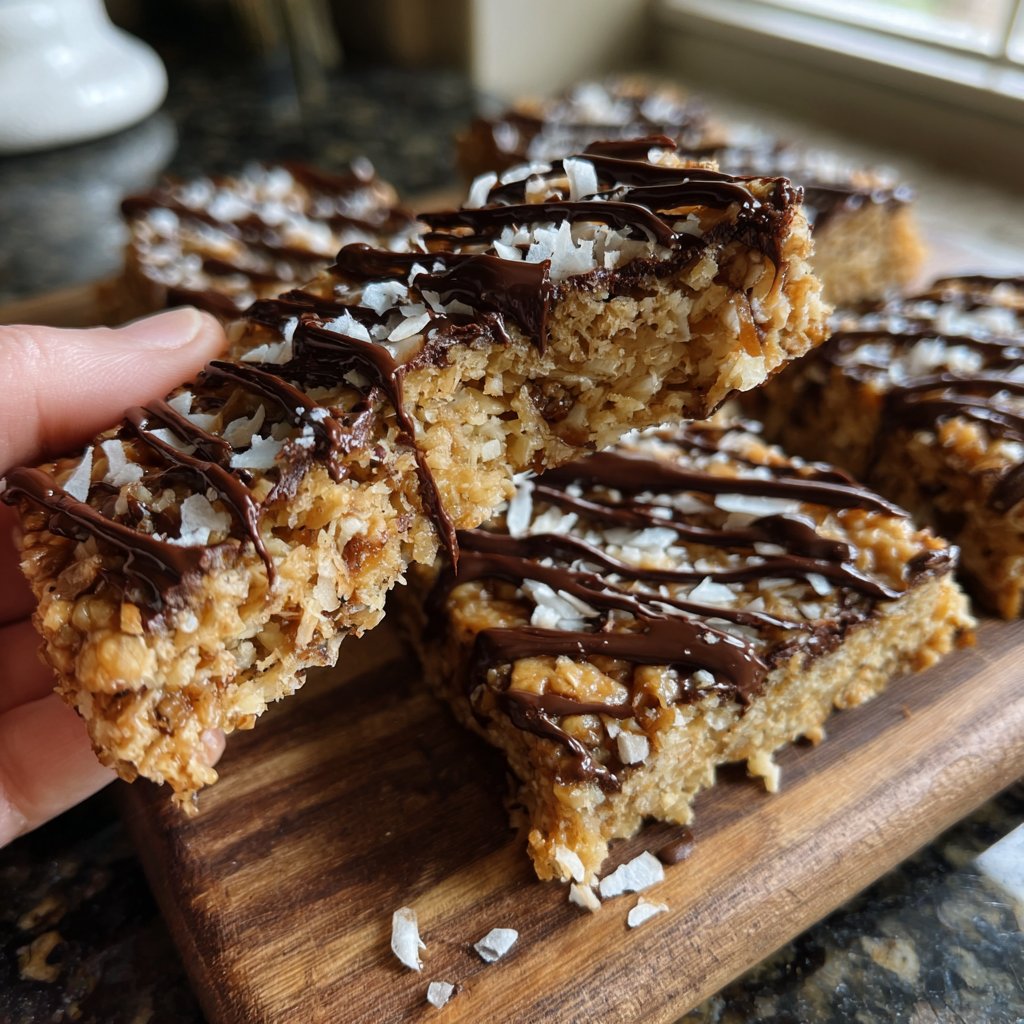
Chocolate Coconut Snack Bars
Highlighted under: Cakes & Confections
I absolutely love making Chocolate Coconut Snack Bars whenever I need a quick yet delicious treat. These bars are not only easy to whip up but also satisfy my sweet tooth without being overly indulgent. The combination of rich chocolate and fresh coconut creates a delightful and energizing snack that’s perfect for any time of day. Whether I’m enjoying them as a midday pick-me-up or packing them for a lunchbox treat, they never fail to impress. Trust me, once you try these bars, you'll want to keep a batch on hand at all times!
When I first experimented with these Chocolate Coconut Snack Bars, I was on the hunt for a healthier snack option that didn’t compromise on flavor. After several tweaks, I discovered that using naturally sweetened ingredients really enhances the rich chocolatey taste while keeping the bars wholesome. I typically let them set in the fridge for about an hour, which really intensifies their flavors and gives them a satisfying texture that holds together beautifully.
One of my favorite aspects of this recipe is how versatile it is! In addition to coconut, I’ll occasionally add in nuts or dried fruit, depending on what I have on hand. This way, every batch can be a little different. Plus, they make an excellent energy boost during busy days, especially when paired with a warm cup of tea.
Why You'll Love These Bars
- Decadent chocolate flavor combined with the tropical taste of coconut
- No-bake recipe makes preparation quick and simple
- Perfectly portable for enjoying on the go
Ingredient Insights
The heart of these Chocolate Coconut Snack Bars lies in their simple yet impactful ingredients. Unsweetened shredded coconut not only adds a delightful chewiness but also provides healthy fats that contribute to sustained energy. Almond flour serves as a fantastic gluten-free alternative to traditional flour, lending a nutty flavor that pairs beautifully with cocoa. Together, these ingredients create an indulgent texture without compromising on nutrition, making them ideal for both a snack and a guilt-free dessert.
Cocoa powder is another star ingredient, providing deep chocolate flavor while keeping the bars rich yet not overly sweet. When choosing cocoa powder, opt for high-quality brands for the best flavor and color. Additionally, the use of maple syrup as a sweetener not only gives a touch of sweetness but also enhances the bars' moistness, ensuring they don’t crumble. A tip from my kitchen: if you're looking for a sweeter result, feel free to slightly increase the maple syrup, but keep in mind that it can also make the mixture stickier.
Lastly, melted coconut oil is crucial for binding the ingredients together. It not only helps to set the bars when chilled but also adds a subtle tropical flavor that complements the coconut. If you need a substitute due to dietary restrictions, you can use another oil, like avocado or canola oil, although the flavor profile will change slightly. Ensure the oil is melted but not too hot to avoid cooking the other ingredients.
Preparation Tips
The no-bake nature of these bars makes them incredibly straightforward, but precision in mixing is key. When combining the dry and wet ingredients, be sure to mix until a consistent sticky dough forms. You want the mixture to hold together without being overly dry. If it seems too crumbly, try adding a bit more melted coconut oil or maple syrup, but do so gradually to avoid making it too wet.
Pressing the mixture into the baking dish is another vital step. I recommend using the back of a flat spatula or even a piece of parchment paper to help press down firmly and evenly. This will prevent the bars from falling apart when cut. A good visual cue is when the surface feels smooth and compact. Remember to pack the mixture tightly to ensure they hold their shape after chilling.
Once chilled, use a sharp knife or a plastic knife to cut the bars while they’re still in the parchment paper. This helps to minimize sticking and allows for cleaner cuts. I sometimes chill them to slightly soften before slicing, as this can help yield a cleaner edge. Depending on your desired size, you can cut them into larger squares for a post-workout snack or smaller bites for a nibble throughout the day.
Ingredients
Ingredients
Chocolate Coconut Snack Bars
- 1 cup unsweetened shredded coconut
- 1/2 cup almond flour
- 1/2 cup cocoa powder
- 1/3 cup maple syrup
- 1/4 cup melted coconut oil
- 1 teaspoon vanilla extract
- 1/4 teaspoon salt
Instructions
Instructions
Prepare the Mixture
In a large bowl, combine the shredded coconut, almond flour, cocoa powder, maple syrup, melted coconut oil, vanilla extract, and salt. Mix until everything is well incorporated and a sticky dough forms.
Press into a Pan
Line an 8x8 inch baking dish with parchment paper. Transfer the mixture into the dish and press it down firmly to create an even layer. Use the back of a spatula to ensure it's compact.
Chill and Cut
Place the dish in the fridge for at least 1 hour to set. Once firm, lift the bars out using the parchment paper and cut into desired sizes.
Pro Tips
- For a hint of extra flavor, consider adding a pinch of sea salt on top before chilling the bars. You can also rollthem in more shredded coconut afterward for a fun presentation!
Storage and Shelf Life
These Chocolate Coconut Snack Bars store exceptionally well, making them a great option for meal prep. I recommend keeping them in an airtight container in the refrigerator, where they will maintain their texture and flavor for up to two weeks. If you want to extend their shelf life further, they can also be frozen. Simply wrap each bar tightly in plastic wrap and then place them in a zip-top freezer bag. They can last up to three months in the freezer and are perfect for grabbing on-the-go.
When you're ready to enjoy a frozen bar, simply transfer it to the refrigerator for a few hours to thaw. Alternatively, you can let them sit at room temperature for about 30 minutes before enjoying. Just ensure they haven't thawed completely if you love that chewy texture; they’re delightful when they’re still slightly firm from the freezer.
To add some variation, you can also layer these bars with different toppings or fillings before freezing. Think about spreading a layer of nut butter or adding a sprinkle of chopped nuts on top before chilling. This not only adds flavor but can also change up the texture for a fun surprise each time you enjoy them!
Flavor Variations
One of the best parts about these Chocolate Coconut Snack Bars is their versatility. You can experiment with adding various mix-ins according to your taste preferences. For instance, adding a handful of dark chocolate chips or white chocolate chips can enhance the chocolate flavor while providing a melty texture. If you're a fan of fruit, consider mixing in some dried cherries, blueberries, or even chopped dates for a burst of sweetness.
Another exciting variation is by using different nut flours. While almond flour gives a lovely nutty base, you can substitute it with hazelnut or cashew flour for a different flavor profile. Just keep in mind that these swaps may slightly alter the texture, so start with the same quantity and adjust as needed based on your preference.
Additionally, for those who enjoy a bit of heat, feel free to incorporate a pinch of cayenne or a dash of cinnamon into the mixture. These spices can elevate the richness of the chocolate and coconut, providing a unique twist that can surprise your taste buds.
Questions About Recipes
→ Can I use sweetened shredded coconut?
Yes, but it will increase the overall sweetness of the bars. You might want to reduce the amount of maple syrup.
→ How should I store these snack bars?
Store them in an airtight container in the refrigerator for up to two weeks, or freeze them for longer storage.
→ Can I make these bars nut-free?
Absolutely! Substitute almond flour with oat flour or ground sunflower seeds for a nut-free option.
→ What can I add to customize the bars?
Feel free to mix in your favorite seeds, nuts, or dried fruits to create your ideal snack combination!
Chocolate Coconut Snack Bars
Created by: Jocelyn Parker
Recipe Type: Cakes & Confections
Skill Level: Beginner
Final Quantity: 12 bars
What You'll Need
Chocolate Coconut Snack Bars
- 1 cup unsweetened shredded coconut
- 1/2 cup almond flour
- 1/2 cup cocoa powder
- 1/3 cup maple syrup
- 1/4 cup melted coconut oil
- 1 teaspoon vanilla extract
- 1/4 teaspoon salt
How-To Steps
In a large bowl, combine the shredded coconut, almond flour, cocoa powder, maple syrup, melted coconut oil, vanilla extract, and salt. Mix until everything is well incorporated and a sticky dough forms.
Line an 8x8 inch baking dish with parchment paper. Transfer the mixture into the dish and press it down firmly to create an even layer. Use the back of a spatula to ensure it's compact.
Place the dish in the fridge for at least 1 hour to set. Once firm, lift the bars out using the parchment paper and cut into desired sizes.
Extra Tips
- For a hint of extra flavor, consider adding a pinch of sea salt on top before chilling the bars. You can also rollthem in more shredded coconut afterward for a fun presentation!
Nutritional Breakdown (Per Serving)
- Calories: 180 kcal
- Total Fat: 12g
- Saturated Fat: 9g
- Cholesterol: 0mg
- Sodium: 40mg
- Total Carbohydrates: 18g
- Dietary Fiber: 3g
- Sugars: 6g
- Protein: 2g