Homemade Peanut Butter Cups with Sea Salt
Highlighted under: Cakes & Confections
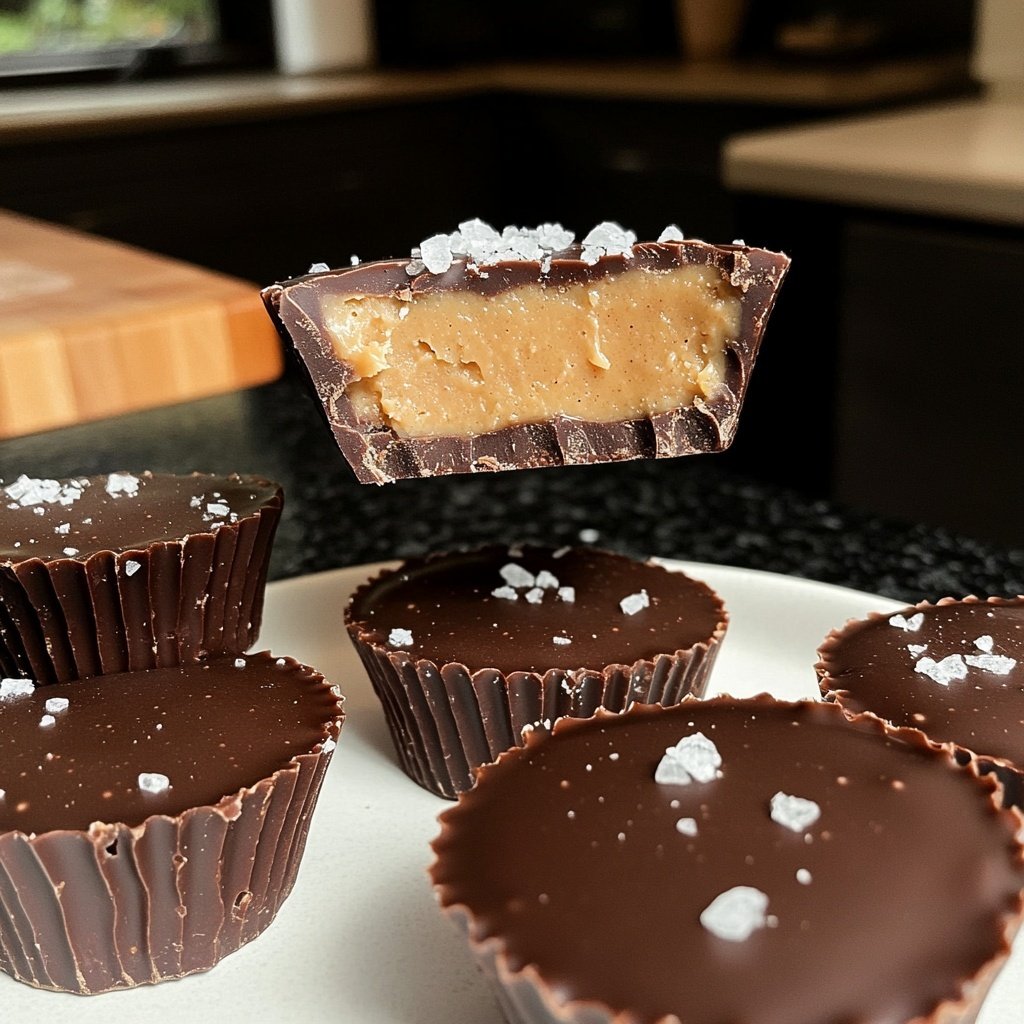
I love making these Homemade Peanut Butter Cups with Sea Salt because they satisfy my sweet tooth while still feeling like a treat I can enjoy without guilt. The combination of rich chocolate and creamy peanut butter makes for an incredible flavor that’s hard to resist. Plus, the sprinkle of sea salt on top enhances the overall taste experience, perfectly balancing the sweetness. These cups are easy to make, and they’re perfect for sharing, gifting, or simply indulging in as a personal snack at any time!
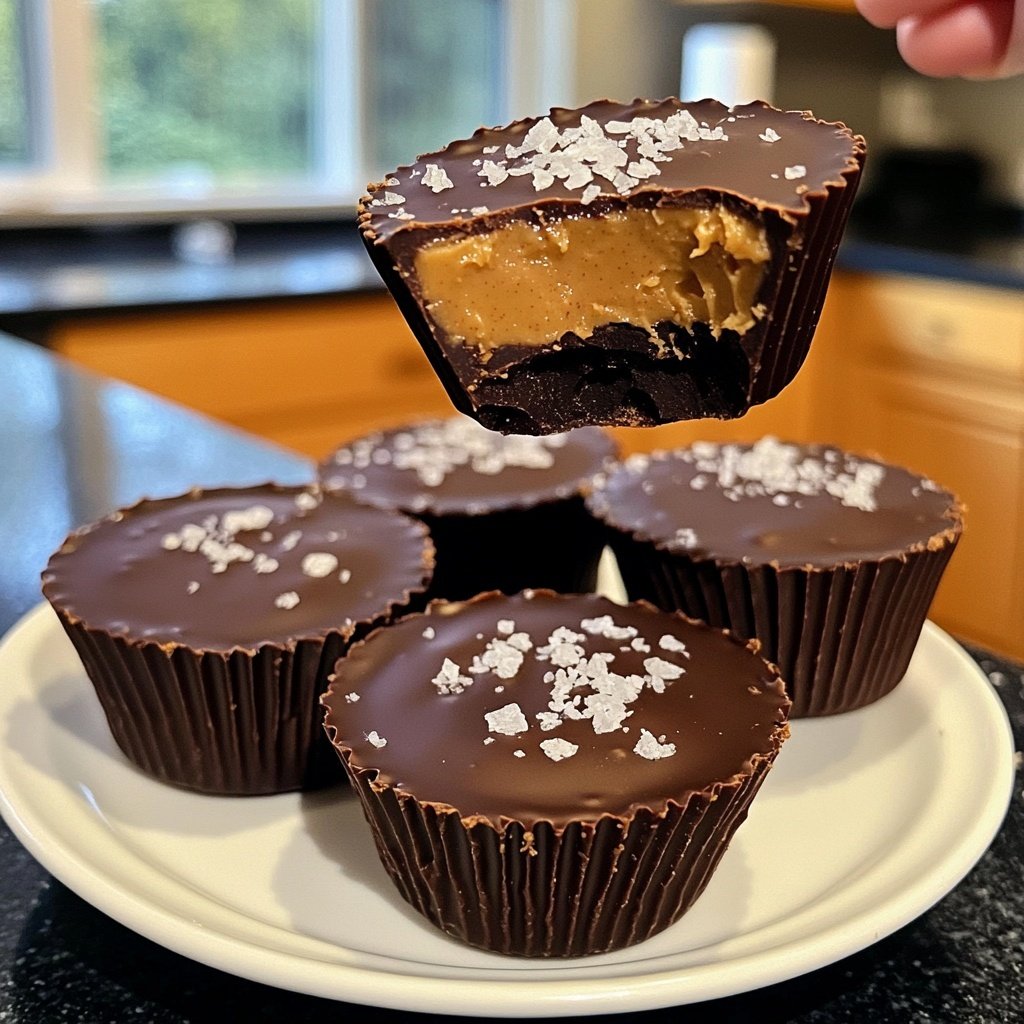
When I first decided to make peanut butter cups at home, I was surprised at how simple and rewarding the process turned out to be. I played around with different types of chocolate and came to find that a mix of dark and milk chocolate gives the perfect blend of rich sweetness. It’s essential to allow the peanut butter mixture to cool slightly before pouring it into the chocolate base, as this helps to create distinct layers without them blending into one another.
One weekend, I prepared these cups for a gathering with friends, and they completely vanished within minutes! I even took the time to experiment with various toppings—crushed nuts, drizzled chocolate, and of course, a sprinkle of sea salt. That touch of salt tamed the sweetness and elevated the flavor to a new level, making them hugely popular among everyone. I'm sure these will become a staple in your kitchen too!
Why You Will Love This Recipe
- Rich chocolate flavor perfectly harmonized with creamy peanut butter
- A touch of sea salt enhances sweetness and adds depth
- Simple and quick to make—perfect for any occasion
- Customizable toppings to suit your personal taste
Mastering the Chocolate Layers
When melting the chocolate, it's crucial to do it in short bursts of 30 seconds in the microwave. This prevents the chocolate from seizing, which can happen if it gets too hot too quickly. Stir between each interval until the chocolate is fully melted and smooth. This glossy texture ensures a beautiful shine on your peanut butter cups.
Using both milk and dark chocolate creates a complex flavor profile. The milk chocolate adds sweetness while the dark chocolate's bitterness balances it out. If you prefer a pure dark chocolate version, feel free to substitute all the milk chocolate chips with dark chocolate for a richer taste.
Peanut Butter Filling Secrets
The combination of creamy peanut butter, powdered sugar, and sea salt is what makes the filling truly special. The powdered sugar not only sweetens but helps achieve a thicker consistency, ensuring the peanut butter layer holds its shape. If you're looking for a healthier option, you can use natural peanut butter, but be aware it may be a bit runnier. You might need to adjust the sugar for sweetness.
Mix until smooth for the best texture. If it feels too thick, a small splash of milk can help to achieve a creamier consistency. Remember, this layer is where the magic happens, so take your time to ensure it's perfectly combined.
Serving and Storage Tips
Once your peanut butter cups are set, they can be stored in an airtight container in the refrigerator for up to two weeks. If you want them to last longer, you can freeze them for up to three months. Just make sure to layer parchment paper between each cup to prevent sticking.
For an extra touch, consider drizzling melted chocolate on top after they’ve set or adding chopped nuts for crunch. These adaptations can elevate your homemade creations and offer delightful variations for sharing or special occasions.
Ingredients
For the Peanut Butter Cups
- 1 cup milk chocolate chips
- 1/2 cup dark chocolate chips
- 1/2 cup creamy peanut butter
- 2 tablespoons powdered sugar
- 1/2 teaspoon sea salt (plus more for garnish)
Make sure to have cupcake liners ready for easy serving!
Instructions
Prepare the Chocolate
Melt the milk chocolate chips in a microwave-safe bowl in 30-second increments, stirring in between, until smooth.
Create the Cup Base
Spoon a small amount of the melted chocolate into each cupcake liner, spreading it to cover the bottom. Place in the freezer for about 10 minutes to set.
Mix the Peanut Butter Filling
In a separate bowl, mix together the creamy peanut butter, powdered sugar, and 1/2 teaspoon of sea salt until well combined and smooth.
Add the Peanut Butter Layer
Remove the chocolate cups from the freezer and add a dollop of the peanut butter mixture on top of the set chocolate, spreading slightly to cover.
Top with Dark Chocolate
Melt the dark chocolate chips in the same way as the milk chocolate and spoon over the peanut butter layer to cover it completely.
Final Touch
Sprinkle a pinch of sea salt on top of each cup and return to the freezer for another 10-15 minutes until completely set.
Enjoy your homemade peanut butter cups once set, or keep them stored in the refrigerator for later!
Pro Tips
- Experiment with different types of chocolate and toppings such as crushed nuts or drizzled caramel to personalize your cups even more.
Ingredient Insights
Sea salt plays a pivotal role in balancing the sweetness of the chocolate and peanut butter. It not only enhances the flavor but also adds a delightful texture contrast in each bite. If you can’t find sea salt, kosher salt can be a suitable substitute, but make sure to use it sparingly as it’s coarser and more potent.
When selecting chocolate, always choose high-quality chocolate chips for the best flavor. Brands that contain a higher cocoa content will yield richer, more intense flavors while ensuring a smooth melting process. If you're feeling adventurous, exploring different chocolate varieties, such as semi-sweet or even white chocolate, can create new flavor experiences.
Troubleshooting Tips
If your chocolate does harden too quickly after melting, you can gently reheat it using a double boiler method. Just add the hardened chocolate to a heat-safe bowl placed over simmering water, stirring until it becomes smooth again. This technique allows for gentle heating without the risk of burning.
In case the filling doesn't firm up well, it may be too warm or contain too much sugar. If this happens, simply chill the filling for a short time before dolloping it onto the chocolate base, allowing it to set more effectively when layered.
Making it Your Own
These peanut butter cups can be easily customized to fit various dietary preferences. For a vegan version, substitute the chocolate with vegan chocolate chips and use a plant-based peanut butter. You’ll still achieve a satisfying snack without dairy.
For those who love a little crunch, try incorporating toasted coconut or crushed pretzels into the peanut butter filling. This not only adds an interesting texture but also enhances the flavor complexity of each cup.
Questions About Recipes
→ Can I use natural peanut butter?
Yes, but be aware that natural peanut butter can be more oily, so it may affect the texture of the filling.
→ How long can I store these cups?
You can keep them in the refrigerator for about 1-2 weeks, or freeze them for up to 3 months.
→ Can I make these vegan?
Absolutely! Substitute the chocolate chips for dairy-free varieties and use a vegan alternative for peanut butter.
→ What are some alternative toppings I can use?
Try adding crushed cookies, chopped nuts, or even drizzles of caramel or white chocolate for different flavors!
Homemade Peanut Butter Cups with Sea Salt
Created by: Jocelyn Parker
Recipe Type: Cakes & Confections
Skill Level: Easy
Final Quantity: 12 cups
What You'll Need
For the Peanut Butter Cups
- 1 cup milk chocolate chips
- 1/2 cup dark chocolate chips
- 1/2 cup creamy peanut butter
- 2 tablespoons powdered sugar
- 1/2 teaspoon sea salt (plus more for garnish)
How-To Steps
Melt the milk chocolate chips in a microwave-safe bowl in 30-second increments, stirring in between, until smooth.
Spoon a small amount of the melted chocolate into each cupcake liner, spreading it to cover the bottom. Place in the freezer for about 10 minutes to set.
In a separate bowl, mix together the creamy peanut butter, powdered sugar, and 1/2 teaspoon of sea salt until well combined and smooth.
Remove the chocolate cups from the freezer and add a dollop of the peanut butter mixture on top of the set chocolate, spreading slightly to cover.
Melt the dark chocolate chips in the same way as the milk chocolate and spoon over the peanut butter layer to cover it completely.
Sprinkle a pinch of sea salt on top of each cup and return to the freezer for another 10-15 minutes until completely set.
Extra Tips
- Experiment with different types of chocolate and toppings such as crushed nuts or drizzled caramel to personalize your cups even more.
Nutritional Breakdown (Per Serving)
- Calories: 200 kcal
- Total Fat: 15g
- Saturated Fat: 6g
- Cholesterol: 0mg
- Sodium: 150mg
- Total Carbohydrates: 18g
- Dietary Fiber: 1g
- Sugars: 10g
- Protein: 3g